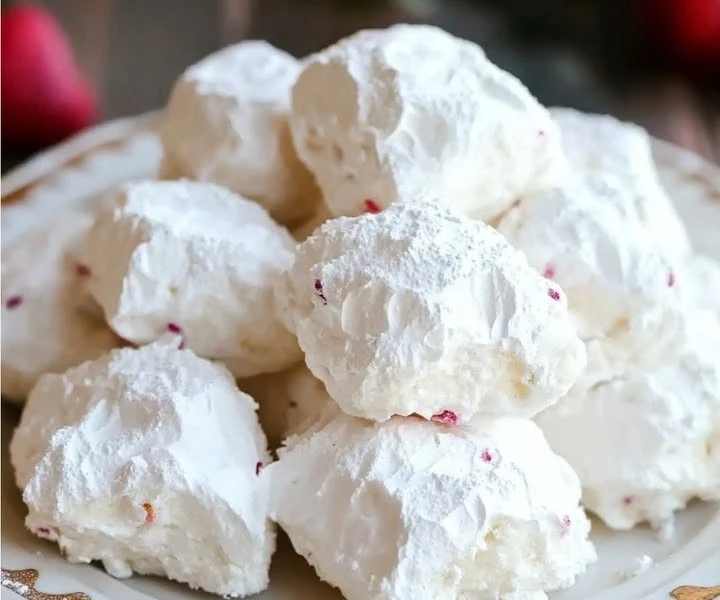
Easter Bunny Coconut Tails
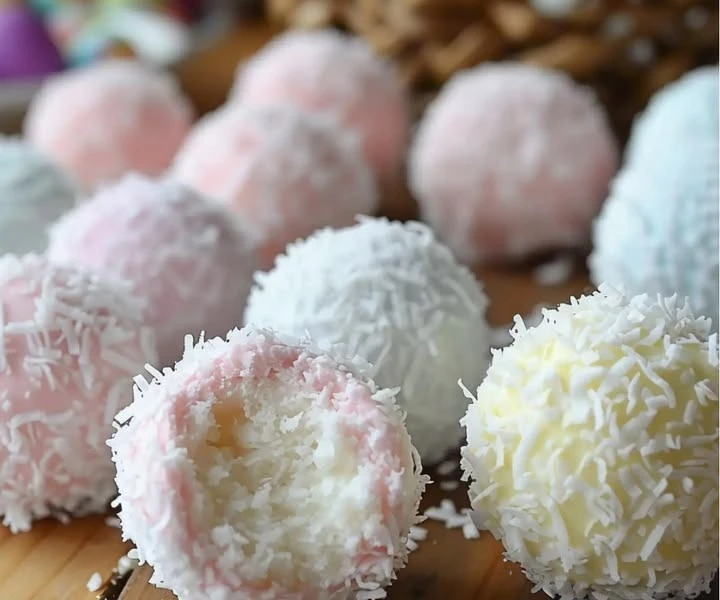
Easter Bunny Coconut Tails: Easter is a time of joy, family gatherings, and lots of delicious treats. One of the most delightful sweets you can make during this season is the Easter Bunny Coconut Tails. These treats are not only fun to make but also a joy to eat. With their fluffy coconut texture and adorable presentation, they are sure to be a hit with both kids and adults alike. Grab your apron, and let’s dive into the world of Easter Bunny Coconut Tails!

Why You Will Love This Recipe
There are so many reasons to love this recipe! First and foremost, it’s incredibly easy to prepare. You don’t need an oven, which means it’s perfect for hot spring days or if you simply want to avoid the hassle of baking. The combination of coconut and pastel colors makes these treats visually appealing and festive for Easter celebrations.
Moreover, they are soft and chewy, with a lovely burst of coconut flavor in every bite. You can also customize them with your favorite chocolate or sprinkles. With a few simple ingredients, you’ll create a delightful treat that brings back memories of childhood Easter mornings. So, if you’re ready to bring some joy to your family and friends this spring, let’s get started!
How to Prepare Easter Bunny Coconut Tails
Creating Easter Bunny Coconut Tails is straightforward and doesn’t take much time. Below, we’ll outline everything you need to know to whip up this delicious treat.
Ingredients:
- 2 cups shredded coconut
- 1 cup sweetened condensed milk
- 1 teaspoon vanilla extract
- 1 cup chocolate chips (for dipping)
- Pastel-colored sprinkles (optional)
- Edible eyes for decoration (optional)
- Additional coconut for coating (optional)
Instructions:
- Mix the Ingredients: In a large mixing bowl, combine the shredded coconut, sweetened condensed milk, and vanilla extract. Mix everything together until the coconut is well-coated and the mixture is sticky.
- Shape the Tails: With your hands, take a small amount of the mixture and shape it into small, oval tails. Place them on a plate lined with parchment paper. Repeat this process until you have used all the mixture.
- Chill the Tails: Once all your tails are shaped, place the plate in the refrigerator for about 30 minutes. This will help them firm up and hold their shape.
- Melt the Chocolate: While the tails are chilling, melt the chocolate chips in a microwave-safe bowl. Heat them in 30-second increments, stirring well between each interval, until completely melted and smooth.
- Dip the Tails: After the tails have cooled and firmed up, dip each one into the melted chocolate. Allow any excess chocolate to drip off and then place them back onto the parchment paper.
- Add Sprinkles and Eyes: While the chocolate is still wet, sprinkle some pastel-colored sprinkles on top. If you want to make them look even cuter, you can add edible eyes before the chocolate hardens.
- Let Them Set: Allow the chocolate to set completely. You can speed up this process by placing them back in the refrigerator for another 15-20 minutes.
How to Serve Easter Bunny Coconut Tails
Easter Bunny Coconut Tails are perfect for serving at family gatherings, children’s parties, or simply as a sweet treat to enjoy at home. You can present them on a festive platter or in cute little Easter baskets. Feel free to arrange them with some spring flowers or colorful eggs to enhance the seasonal theme. Kids will love to help serve them, and they make a lovely centerpiece for your Easter table!
How to Store Easter Bunny Coconut Tails
To keep your Easter Bunny Coconut Tails fresh, store them in an airtight container in the refrigerator. They can last up to one week if stored properly. If you want to make them ahead of time, simply prepare them a few days before Easter and keep them chilled. Enjoying these treats cold can also be refreshing during warmer weather!
Tips for Preparing Easter Bunny Coconut Tails
- Choose Quality Ingredients: The flavor of your coconut tails will depend on the quality of the coconut and chocolate you use. Opt for sweetened shredded coconut for the best taste.
- Personalize Them: Get creative and add different toppings like mini chocolate chips, colored sugar, or other decorations that suit your taste.
- Make Them Ahead of Time: These can be made ahead of Easter, making them ideal for busy schedules. Just remember to allow enough time for them to chill in the refrigerator.
- Use Cookie Cutters: If you want to shape them in different fun forms, consider using cookie cutters. This can make the process even more enjoyable for kids.
Variations
If you’re looking to change things up, there are plenty of variations you can try with Easter Bunny Coconut Tails:
- Almond Joy Tails: Add chopped almonds into the coconut mixture for a nutty flavor that mimics the popular candy bar.
- Fruit-Flavored Coconut Tails: Mix in some crushed pineapple or other fruit puree for a tropical twist to your coconut tails.
- Chocolate-Covered Tails: Use dark chocolate or white chocolate instead of regular chocolate chips to create different flavor profiles.
Frequently Asked Questions
Q1: Can I use unsweetened coconut instead of sweetened?
A1: Yes, you can use unsweetened coconut if you prefer, but you may want to adjust the sweetness by adding a bit of powdered sugar to the mixture.
Q2: How do I make coconut tails without condensed milk?
A2: You can make a similar mixture using coconut cream or yogurt as a base. Just ensure it is thick enough to hold its shape.
Q3: Are these treats suitable for vegans?
A3: To make the recipe vegan, you can use a plant-based condensed milk or coconut cream and ensure the chocolate is dairy-free.
Conclusion
Easter Bunny Coconut Tails are not just a treat; they are a celebration of spring and the joyful spirit of Easter. With their soft coconut texture, delightful sweetness, and cute bunny shapes, they are perfect for sharing with family and friends. Plus, the simplicity of this recipe makes it accessible for everyone to try.
So, gather your ingredients, follow the steps, and create these delightful Easter treats. Watching the smiles on the faces of those you serve will be the best part of making Easter Bunny Coconut Tails. Enjoy your spring baking adventure!