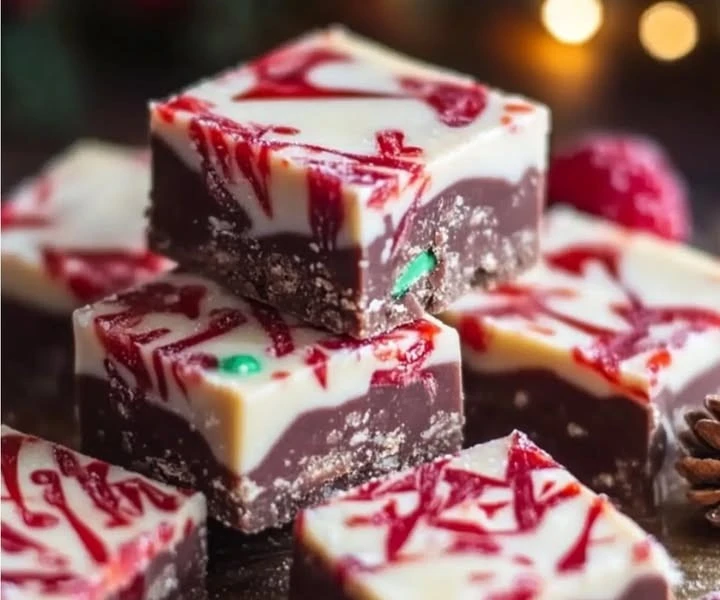
Christmas Fudge
Christmas Fudge :during the holiday season, there’s nothing quite like the feeling of coziness as you gather around with family and friends, sharing love, laughter, and, of course, delicious treats. One treat that never fails to delight is Christmas Fudge. This fudgy confection is not only a joy to eat, but it also makes for an enchanting gift during the festive season. With its colorful appearance and melt-in-your-mouth sweetness, Christmas Fudge has become a cherished tradition in many households. In this article, we will dive into why you will love this recipe, how to prepare it, and so much more.
Why You Will Love This Recipe
There are countless reasons to love Christmas Fudge! First and foremost, it is incredibly easy to make, requiring just a few simple ingredients. You don’t need to be a professional baker or have extensive cooking experience to create this delightful treat. Whether you are baking it for a holiday party, to gift to friends and family, or simply as a sweet indulgence for yourself, Christmas Fudge is sure to impress.
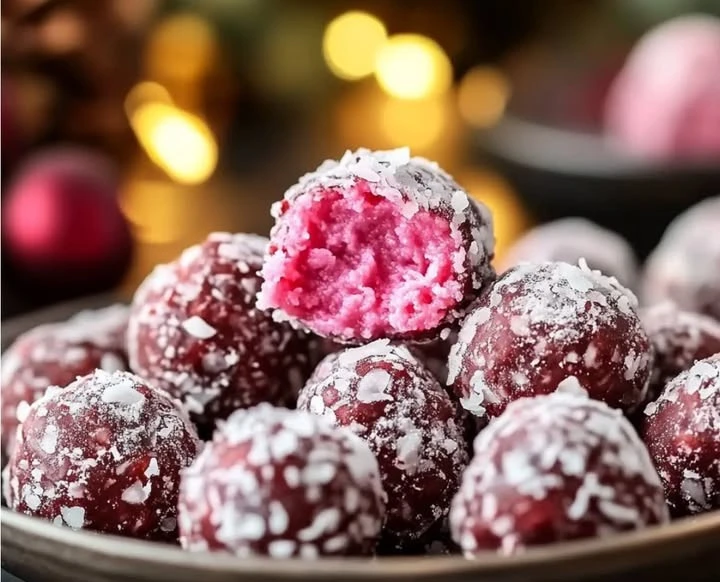
Moreover, this recipe can be customized in numerous ways to suit your taste. You can add your favorite mix-ins, such as nuts or dried fruits, or infuse different flavors like peppermint or orange zest. The festive colors and rich flavors of Christmas Fudge will not only satisfy your sweet tooth, but they will also fill your home with the delicious aroma of holiday cheer.
Lastly, making Christmas Fudge can become a fun holiday tradition. Gather your loved ones, put on some holiday music, and enjoy the process of creating something delightful together. Sharing the finished product with family and friends is a heartwarming experience. Now, let’s explore how to prepare this delectable holiday treat.
How to Prepare Christmas Fudge
Creating Christmas Fudge is a straightforward process, and with a little time and love, you can whip up a batch that will leave everyone wanting more. Below, we’ll go through the ingredients needed, the instructions for making it, and tips for serving and storing.
Ingredients:
To make Christmas Fudge, you will need the following ingredients:
- 2 cups of granulated sugar
- 1/2 cup of unsweetened cocoa powder
- 1/4 cup of milk
- 1/2 cup of butter
- 1 teaspoon of vanilla extract
- 1 cup of semi-sweet chocolate chips
- Optional: 1/2 cup of nuts (e.g., walnuts, pecans) or holiday-themed sprinkles
Instructions:
Now that we have our ingredients ready, let’s get started with making the fudge:
- Prepare Your Pan: Line an 8×8 inch baking dish with parchment paper. This will help you remove the fudge easily once it sets and ensures an easier cleanup.
- Combine Sugar and Cocoa: In a medium saucepan, mix together the granulated sugar and cocoa powder. Stir to make sure there are no lumps.
- Add Milk and Butter: Pour in the milk and add the butter to the saucepan. Place the saucepan over medium heat, stirring constantly until the mixture starts to boil.
- Boil the Mixture: Once it begins boiling, stop stirring and let it boil for exactly two minutes. This step is crucial for achieving that perfect fudge consistency.
- Remove from Heat: After two minutes, take the saucepan off the heat.
- Add Chocolate and Vanilla: Quickly stir in the semi-sweet chocolate chips and vanilla extract. Keep stirring until the chocolate is completely melted and the mixture is smooth.
- Add Nuts (Optional): If you’d like to include nuts or sprinkles, fold them in at this stage.
- Pour into Pan: Pour the fudge mixture into the prepared baking dish. Use a spatula to spread it evenly.
- Cool and Set: Allow the fudge to cool at room temperature for about 2 hours or until it is completely set. You can also place it in the refrigerator to speed up the cooling process.
- Cut and Serve: Once fully set, lift the fudge out of the pan using the parchment paper as handles. Cut it into small squares and enjoy!
How to Serve Christmas Fudge
Serving Christmas Fudge can be as creative as you want. Here are some delightful ideas on how to enjoy your fudge:
- Gift Wrapping: Cut the fudge into small squares and wrap them in festive cellophane or place them in a decorative tin. This makes for a thoughtful homemade gift for friends, family, or coworkers.
- Holiday Dessert Table: Place the fudge squares on a beautiful plate or platter at your holiday gatherings. It adds color and a touch of sweetness to your dessert table.
- Add to Gift Baskets: Include fudge in gift baskets alongside other homemade treats, cookies, and chocolates for a charming holiday gift.
- Enjoy with Coffee or Hot Chocolate: Serve the fudge with a warm cup of coffee or hot chocolate for a cozy treat on a chilly evening.
How to Store Christmas Fudge
Storing Christmas Fudge properly will ensure it stays fresh and delicious. Follow these simple steps:
- Store in an Airtight Container: Once the fudge is fully set and cut into squares, transfer it to an airtight container. This helps prevent it from drying out.
- Keep in a Cool Place: Store the container in a cool, dry place, away from direct sunlight. You can leave it at room temperature for up to 1 week.
- Refrigerate for Longer Freshness: If you want your fudge to last longer, keep it in the refrigerator. It can stay fresh for up to 3 weeks when properly stored in the fridge.
- Freeze for Many Months: To keep it even longer, you can freeze it. Make sure to wrap each piece in plastic wrap before placing them in a freezer-safe container. Frozen fudge can last for up to 3 months. Simply thaw it at room temperature before serving.
Tips for Preparing Christmas Fudge
- Use a Candy Thermometer: If you are unsure about the boiling time, using a candy thermometer can help. The fudge should reach a temperature of about 234°F (112°C) to achieve the perfect texture.
- Avoid Overmixing: When adding the chocolate chips and vanilla extract, mix just until smooth. Overmixing can change the texture of the fudge.
- Double the Recipe: If you are making fudge for a larger group, feel free to double the ingredients. Just make sure to use a larger baking pan.
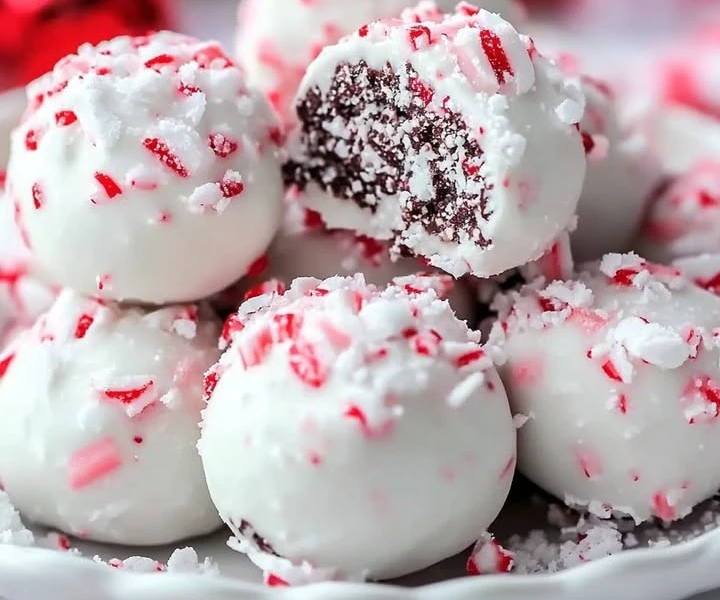
- Experiment with Flavors: Don’t be afraid to get creative! Add peppermint extract, add swirls of peanut butter, or fold in dried fruit for a unique twist.
Variations
While the classic Christmas Fudge recipe is always a hit, here are a few variations to try:
- Peppermint Fudge: Incorporate crushed peppermint candies or peppermint extract for a festive minty flavor.
- Nutty Fudge: Add your choice of nuts, such as pecans or almonds, for a delightful crunch.
- Marshmallow Fudge: Mix in mini marshmallows or top the fudge with a layer of marshmallow fluff for a creamy texture.
- White Chocolate Fudge: Replace semi-sweet chocolate chips with white chocolate chips for a sweeter treat.
Frequently Asked Questions
- Can I use milk chocolate instead of semi-sweet chocolate?
Yes, you can! Using milk chocolate will result in a sweeter and creamier fudge. Just keep in mind the flavor profile may change slightly. - Why did my fudge turn out grainy?
Graininess can happen if the sugar didn’t dissolve completely while heating. Make sure to stir thoroughly until everything is well combined before boiling. - Can I make fudge in advance?
Absolutely! Fudge can be made days or weeks in advance. Just store it properly as mentioned earlier, and it will still be delicious when you’re ready to enjoy it. - What can I do if my fudge is too soft?
If your fudge didn’t set properly, you can try reheating it gently and adding a little more chocolate, then pour it back into the pan and let it set again.
Conclusion
Christmas Fudge is not just a treat; it’s a sweet celebration of the holiday spirit. Its rich flavor, delightful textures, and vibrant colors make it a perfect addition to any festive gathering or as a thoughtful gift. With numerous ways to customize and enjoy this fudge, it truly is a versatile recipe that everyone can cherish. So this holiday season, gather your loved ones, whip up a batch of Christmas Fudge, and create sweet memories that will last for years to come. Happy baking!