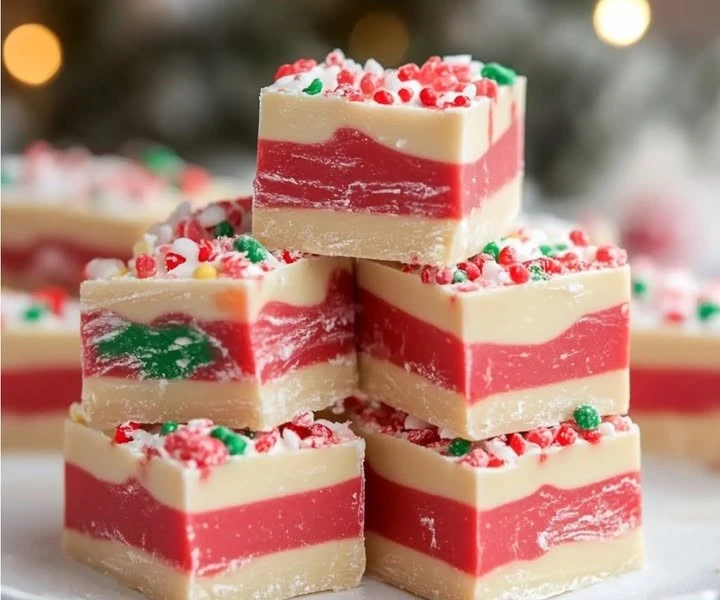
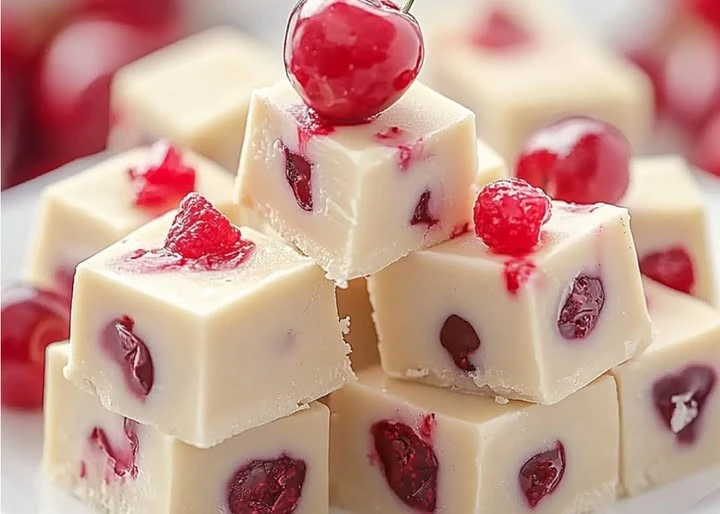
White Chocolate Cherry Fudge 🍒🍫
White Chocolate Cherry Fudge : welcome to the delightful world of White Chocolate Cherry Fudge! This recipe brings together the creamy texture of white chocolate with the tart goodness of cherries, creating a festive treat that is perfect for any occasion. Whether you’re celebrating the holidays or simply craving something sweet, this fudge is sure to please. In this article, I will guide you through the process of making this delicious fudge step by step, as well as share tips on how to serve, store, and customize your treat!
Why You Will Love This Recipe
You will love making White Chocolate Cherry Fudge for several reasons. First, it is incredibly easy to prepare, needing minimal effort while delivering maximum flavor. Second, the combination of white chocolate and cherries gives a beautiful visual and taste contrast that is both sweet and slightly tangy. Third, this fudge makes for a fantastic gift! Whether you wrap it up in nice packaging for a friend or serve it at a party, your friends and loved ones will surely appreciate your thoughtfulness. Lastly, the fun of creating this sweet treat in your kitchen will make you want to make it again and again!
How to Prepare White Chocolate Cherry Fudge
Let’s dive into how to prepare this tasty White Chocolate Cherry Fudge! Here, I will provide a detailed list of ingredients along with step-by-step instructions that make it easy to follow, even for beginners.
Ingredients
- 3 cups white chocolate chips
- 1 (14-ounce) can sweetened condensed milk
- 1 teaspoon vanilla extract
- 1 cup dried cherries, chopped
- ½ cup chopped nuts (optional)
- A pinch of salt
Instructions
- Gather Your Ingredients: Start by collecting all the ingredients listed above. Make sure you have a clean and flat surface to work on.
- Line the Baking Dish: Take an 8-inch square baking dish and line it with parchment paper. This will help prevent the fudge from sticking to the dish and make it easier to cut later.
- Melt the White Chocolate: In a medium saucepan over low heat, combine the white chocolate chips and sweetened condensed milk. Stir continuously until the chocolate melts and the mixture is smooth. Be careful not to let it burn!
- Add Flavor: Once the mixture is smooth, remove it from the heat. Stir in the vanilla extract and a pinch of salt. This helps enhance the flavors of the fudge.
- Mix in the Cherries and Nuts: Gently fold in the chopped dried cherries and chopped nuts (if you are using them). Ensure they are evenly distributed throughout the fudge mixture.
- Pour into the Dish: Carefully pour the fudge mixture into the prepared baking dish. Use a spatula to spread it out evenly.
- Chill: Place the baking dish in the refrigerator for about 2 to 3 hours, or until the fudge is firm and completely set.
- Cut and Serve: Once fully chilled, remove the fudge from the baking dish by lifting the parchment paper. Cut it into small squares or rectangles.
- Enjoy: Now it’s ready to be enjoyed! You can serve it as it is or decorate it if you’d like.
How to Serve White Chocolate Cherry Fudge
Serving White Chocolate Cherry Fudge can be as fun as making it! You can display it on a beautiful plate or a festive tray. For extra flair, consider dusting the top with powdered sugar or drizzling some melted chocolate over the pieces. This not only enhances the taste but also adds a beautiful presentation to your treat.
You can serve the fudge on its own or pair it with a scoop of vanilla ice cream for a delicious dessert combination. If you are hosting a party, feel free to add it to your dessert table alongside cookies, cakes, and other sweets.
How to Store White Chocolate Cherry Fudge
Storing your White Chocolate Cherry Fudge properly will help maintain its freshness and taste. Here are some storing tips:
- Keep It in an Airtight Container: Once your fudge has set and you’ve cut it into pieces, place it in an airtight container. Make sure there is a layer of parchment paper between any fudge pieces to prevent sticking.
- Store in a Cool Environment: Keep the container at room temperature if you will eat it within a week. If you want it to last longer, store it in the refrigerator, where it can last for up to two weeks.
- Freezing for Longer Storage: If you would like to keep the fudge for an extended period, you can freeze it. Wrap individual pieces tightly in plastic wrap, then place them in a resealable freezer bag. It can last for up to three months in the freezer. When you’re ready to enjoy them, let the fudge come to room temperature before eating.
Tips for Preparing White Chocolate Cherry Fudge
- Use Good Quality White Chocolate: The flavor of the fudge largely depends on the white chocolate you use, so select a quality brand for the best result.
- Cut When Chilled: For clean cuts, make sure the fudge is fully chilled before you start cutting it. If it’s too soft, it can be tricky to slice.
- Play with Add-ins: Feel free to experiment with the ingredients by adding your favorite nuts, or even some mini marshmallows, or different dried fruits. Over time, you can customize the drizzle on top too – consider caramel or dark chocolate!
- Keep It Simple: Less is more! Avoid overcomplicating the recipe by sticking to the original ingredients the first time you make it. Once you’re comfortable, feel free to explore!
Variations
If you want to switch things up, here are a couple of variations you can try:
- Add Citrus Zest: A bit of lemon or orange zest can really brighten the flavors of the fudge and add an interesting twist.
- Chocolate Swirl Fudge: You can melt some dark chocolate separately and swirl it into your white chocolate mixture before it sets. This will give you a beautiful marbled effect.
- Flavored Fudge: If you would like a different flavor, consider using almond extract instead of vanilla for a nutty taste.
Frequently Asked Questions
1. Can I use fresh cherries instead of dried cherries?
While fresh cherries are delicious, they contain much more moisture than dried cherries. Using fresh cherries could affect the consistency of your fudge, making it too soft. It’s best to stick with dried cherries for this recipe.
2. How can I tell when the fudge is set?
The fudge is set when it feels firm to the touch and has changed from a glossy liquid to a matte finish. For best results, chill it for at least 2 to 3 hours.
3. Can I make this fudge ahead of time?
Absolutely! In fact, it’s a great idea to make this fudge a few days in advance. It can be made up to a week ahead of time and stored in an airtight container. This gives the flavors time to meld and can make it taste even better!
4. What if my fudge is too soft?
If your fudge turns out too soft, it may not have set long enough in the refrigerator. Give it more time to chill, or you can try melting it down again and adding a bit more white chocolate to adjust the consistency.
Conclusion
Making White Chocolate Cherry Fudge is an enjoyable project that leads to a deliciously sweet reward. With its simple ingredients and easy preparation, it is perfect for both beginners and experienced bakers. Remember to share this fudge with friends and family, as happiness is always sweeter when shared! Enjoy your delightful creation and happy cooking!